How to Paint Figures
One of the most common questions I get from customers is “Hey so I bought some figures from you but I have no idea how to paint them…CAN YOU HELP ME?”
Well that’s a more difficult question than you might think, and there’s no single good answer. There are a variety of methods and materials that customizers use, but I’ll do my best to outline MY current choices!
NOTE: these recommendations will assume that you are painting a model or figure made from 3d printed UV resin, and that the person who printed it cleaned and cured it properly. (Note that I have another page outlining my methods for printing/curing!) If you’re painting another material such as a filament 3d print…many of the suggestions here will work just fine, but you’ll probably want to make some adjustments.
Before you paint your figure, you’ll need to decide whether you should prime it or not. I find that it is not necessary to prime a resin print if you use the types of paints mentioned below, UNLESS you are making a dramatic color change. For example, if your figure is printed in dark grey resin and you want it to end up white…you should probably hit it with a light grey or white primer spray before painting. This will save you many coats of paint! But if you’re painting a dark grey figurine black, you can skip the priming phase. If you do choose to use a primer, I recommend Tamiya’s spray primers – you can get them from your local hobby shop or from Amazon.
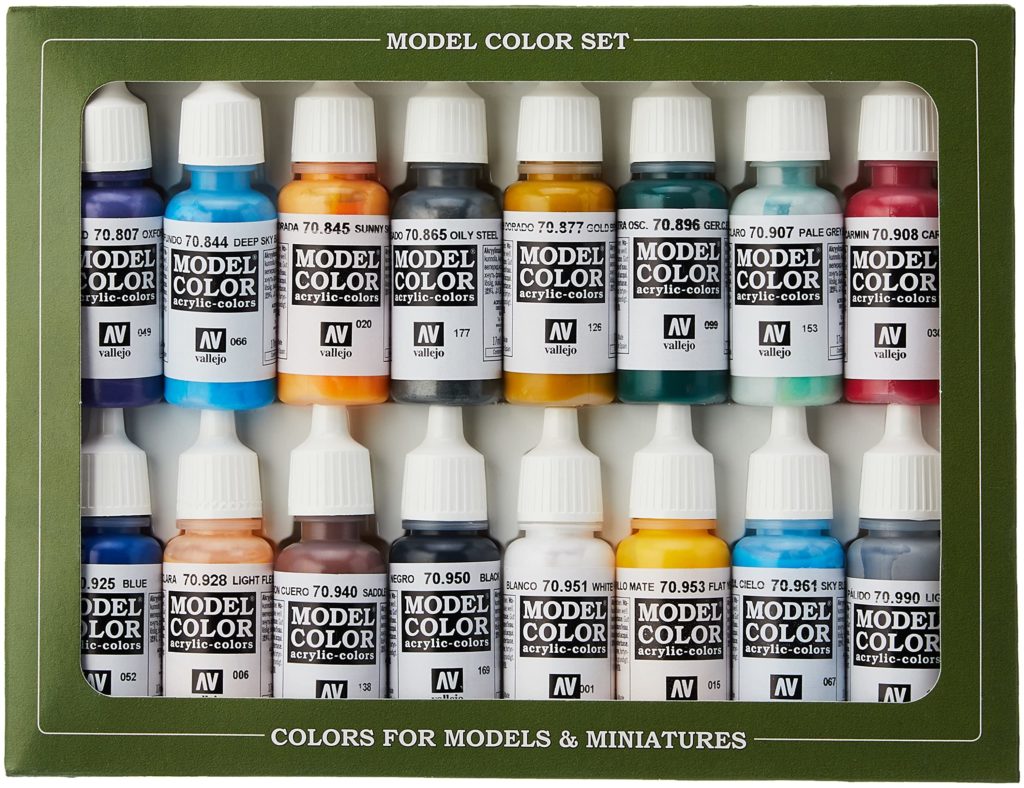
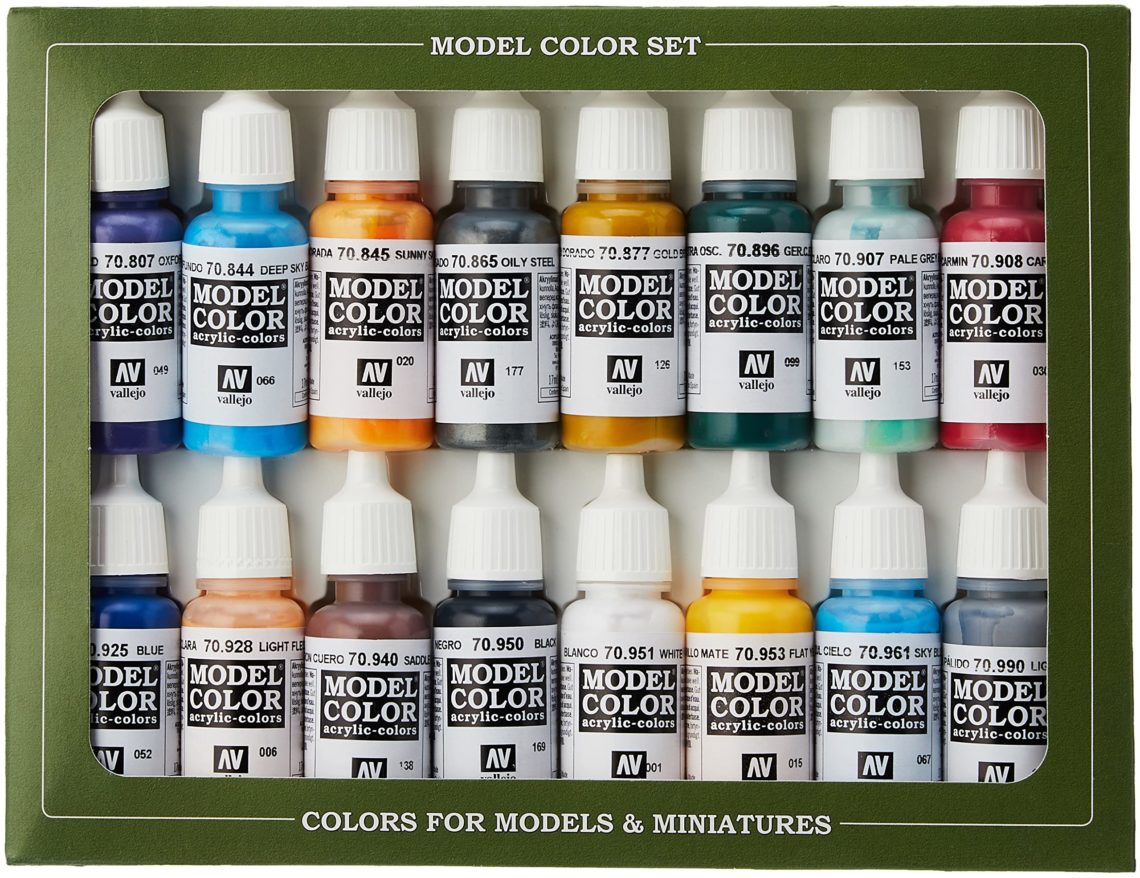
As for paints, most custom figure painters seem to use acrylic model paints from Vallejo and Tamiya. I personally use both, and their matte paints are the ones you want. Again, they’re available from hobby shops like HobbyTown or you can order them online either directly from the manufacturer of through Amazon.
PRO TIP! The key with these paints is to use multiple thin coats rather than trying to get it all done with a thick single coat. Trust me, you’ll be glad you had some patience and don’t worry – these paints actually dry really quickly.
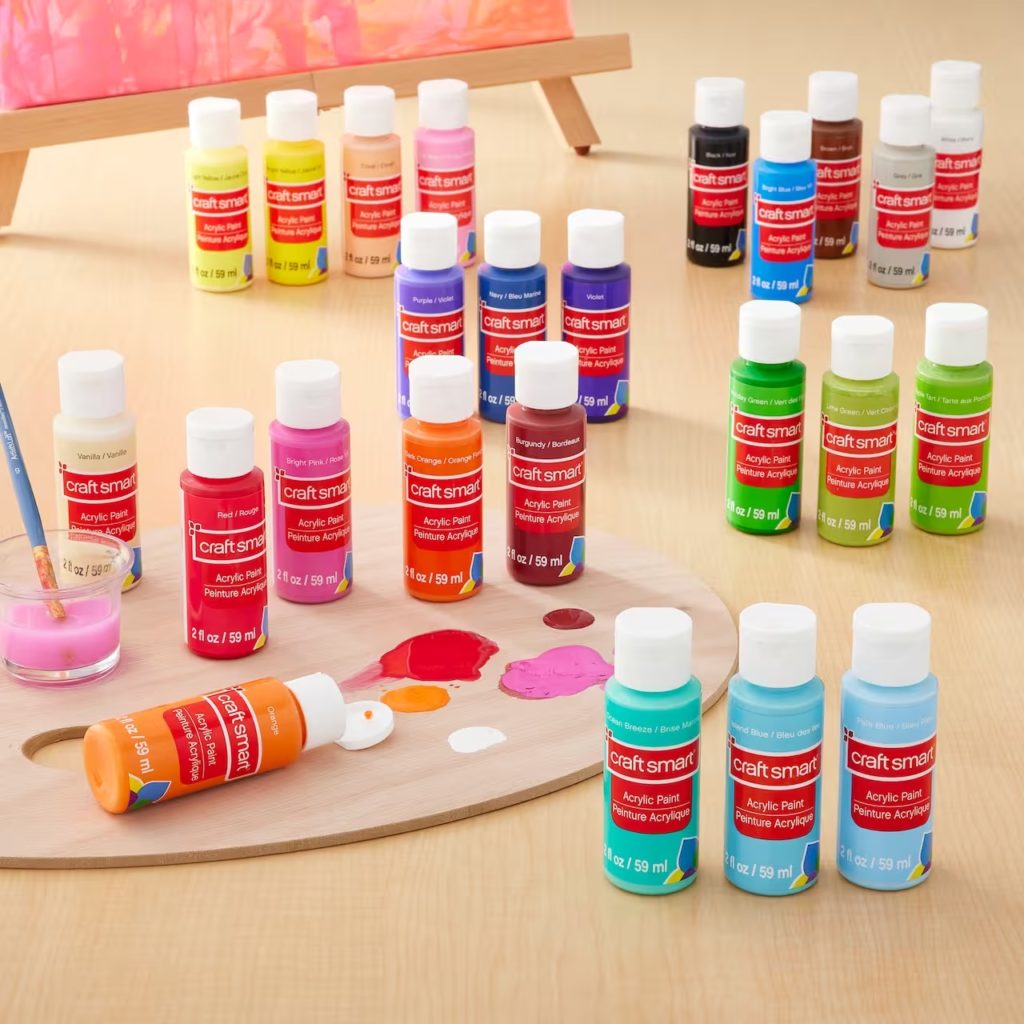
I know some people just use the craft paints you can find for super cheap at Michaels or Hobby Lobby. Those can get the job done, but they are definitely inferior and will be more likely to get clumpy or uneven. I’d say use them only if you must, and aim for the higher-quality model paints whenever possible.
ANOTHER PRO TIP! If you’re planning to put fine details like eyes on your figure, you should wait until AFTER you’ve applied a spray sealer. Paint your figure, spray-seal it, and then apply the details. The reason is that if you fudge the tiny details you can use a damp paper towel to wipe it off without screwing up the paint underneath!
OK, so once you’ve painted the figure you’ll want to seal it. Some people swear by Testors’ Dullcote (available at hobby stores) but I don’t feel like it gives an authentic vintage look. Plus, it ain’t cheap! I’ve also seen people use Mod Podge’s Matte spray – again, I don’t think the results justify the cost. Personally, my favorite way to seal a figure with an authentic vintage-looking sheen is to use Rustoleum’s Clear Matte spray, available for about $7/can at Home Depot. It’s affordable, dries quickly, and looks great.
At this point, you can apply any final details and give it a final touch-up spray. You’re done!
OTHER KEY TIPS:
* Waterslide decals are your best friend! If you’re doing eyes on a small figure or maybe adding symbols or lettering to a character’s helmet…there’s no better way than to use waterslide decals. You can buy the paper online, print them at home in whatever color you need, and apply with very simple materials. Head over to YouTube and there are a ton of super-easy to follow tutorials – you’ll thank me!
* If you’re looking for a legit chrome finish (like for droids, for example) you can’t go wrong with MOLOTOW’s chrome paint pens. They aren’t cheap but they’re worth it. The key here is to be patient – they can take DAYS to completely dry.
* If you want to put labels on something like a retro-style R2-D2 for example, but don’t have glossy adhesive sticker paper to print on, no problem! You can just print the design on regular paper, use a light gluestick to put it in place, and then hit the whole thing with the matte or satin finishing spray. When it’s done, it will look very much like a vintage sticker.